
LibreNMS is an open-source, powerful, and feature-rich network monitoring system that is based on PHP and uses the SNMP protocol. It supports a wide variety of networking hardware, including Cisco, Juniper, Brocade, Foundry, HP, and Linux, among other operating systems and network devices.
LibreNMS image in Azure
A completely functional network monitoring system that is open source and already set up for Azure is called LibreNMS image. It is best suited for those who wish to monitor network devices quickly and easily using open source cloud, on-premise, and cloud services. Utilizing ICMP and SNMP, LibreNMS can be used to monitor servers, network devices, and software.
Following these steps,

Those two plans are. (Basic plan, supported plan) choosing the Basic plan and creating.


We can check the values once more. After the validation was successful, choose to Create.


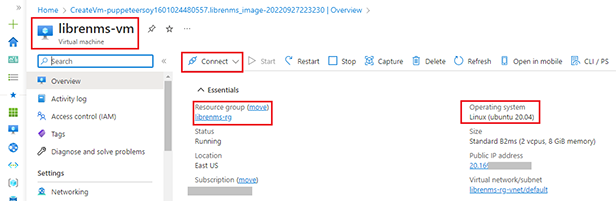
The librenms-vm has been successfully established. Then select SSH or RDP as the connection method.
Choose the SSH connection method
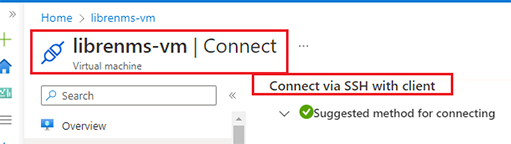
Now SSH is connecting.


To access the Librenms Portal, we require a login and password. Therefore, we can typically perform this operation and afterward get the values' details. “cat librenms-passwords.txt”

The LibreNMS portal login page shows after running the URL with an IP address. Enter the username and password

View the LibreNMS portal dashboards after logging in.

Just take a quick look at the portal. We can build Groups for managing and monitoring while likewise adding Devices, Routers, VMs, and other things.
.png)
LibreNMS dashboard view picture. The dashboard display view can be customized.

Summary
In this article, we learned about Deploying the LibreNMS Image in Azure, in our next article we will learn how to manage the LibreNMS.


No comments:
Post a Comment